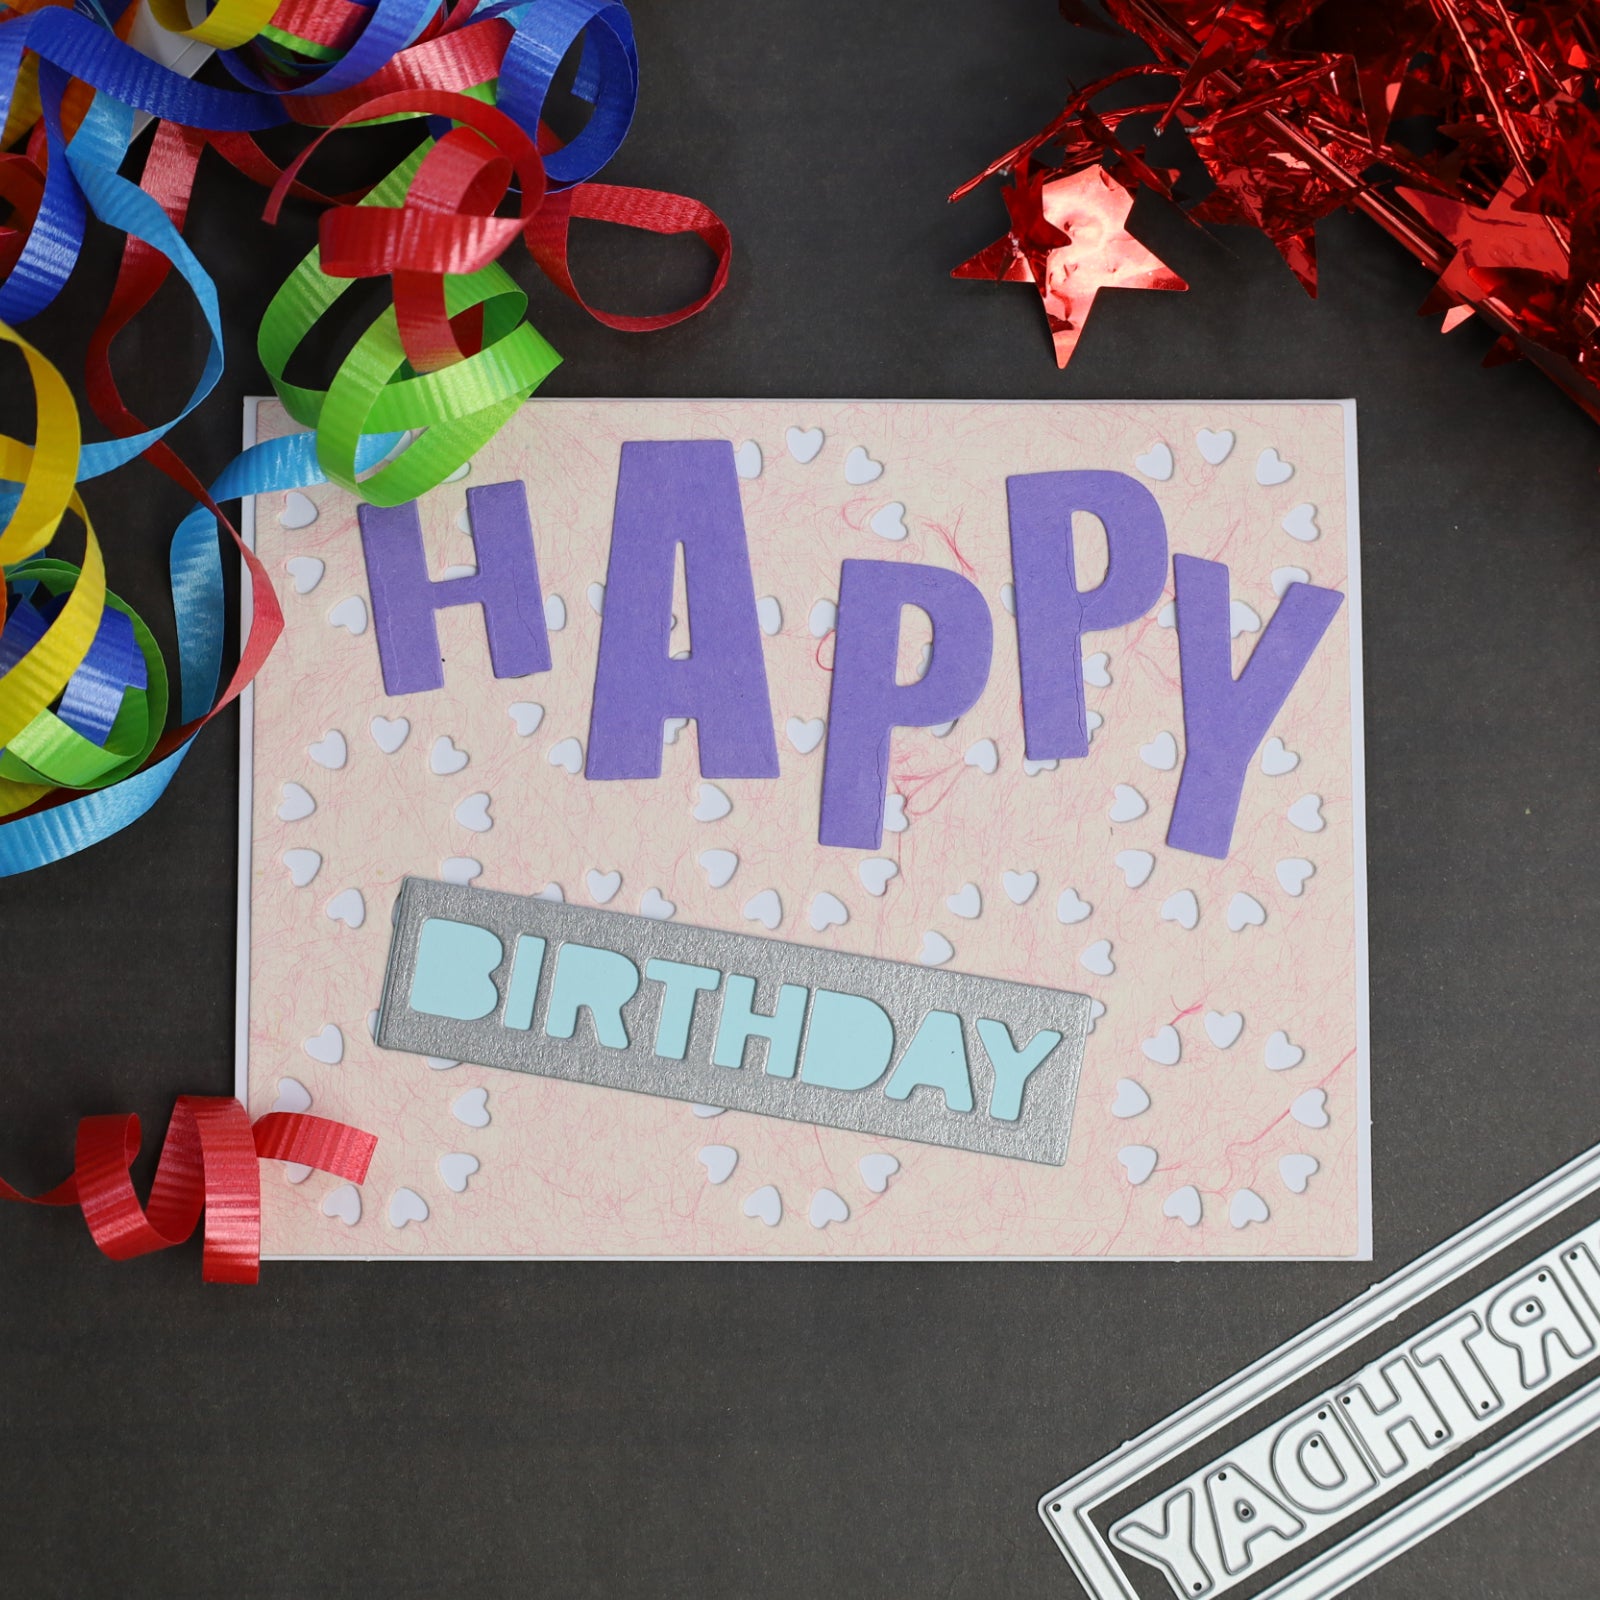
One of our daughter’s best friends is turning eight this weekend. So I decided to of course mark the occasion by creating a handmade card for her.
I started this project by gathering a few things together to start planning my design. I had purchased a box of A2 sized pre-folded cards with matching envelopes at Wal-Mart earlier in the week. In case you’re wondering what is A2 size, it’s 4.25” by 5.5” and probably the most common size papercrafters like myself use. So I was definitely going to use one as my card base. A few weeks ago I had die cut the Circles of Hearts background we sell using a variegated pink cardstock. I had originally intended to make a Valentine’s Day card with it but after helping both the kids with valentines for school parties, I was left disenfranchised to say the least. So I was sifting through my stack of cut but unused embellishments when I found that background and immediately thought it would be an excellent fit for this awesome girl’s birthday card. I also discovered a gray scalloped square with “Make a Wish” stamped on it and decided this was a perfect sentiment for the inside of the card. I have a tendency to make extras when I’m crafting to save for another project.


I knew I wanted the front to have a “Happy Birthday” sentiment. I remembered I had another stash of die cuts and found positive image letters from our Happy Birthday Various Size Letters die set. I picked out just enough to spell “HAPPY”. I oriented the card base to be horizontal (landscape). I placed the Circle of Hearts die cut background on top centering it. It was almost a perfect fit, just slightly smaller than the card front. Then I arranged the H-A-P-P-Y across the card on top of the background. I went with a somewhat jumbled look but the word still reads from left to right like usual. To make the rest of the sentiment I found our bsiness copy of the Wish Big Sentiment Words dies. I used a magnetic sheet to keep the nesting dies from moving. I chose fine glitter look (but not actually glitter) metallic silver cardstock to cut “BIRTHDAY” inside the rectangular frame. To fit my modern theme I saved the positive images (the loose letters and the rectangular outline frame) for future use. I placed the negative image on the card on the left side at a small angle and decided that “BIRTHDAY” was hard to read and I needed another layer. So I cut just the rectangle frame again, this time using a light blue paper. I also saved the outline frame. I put the solid blue rectangle under the one with “BIRTHDAY” and like magic, it looked so much better!


Due to the cutout design of the background, I decided to use glue dots to attach the positive image “HAPPY” to the pink cardstock. I used a glue pen on the negative image “BIRTHDAY” to join it to the blue rectangle and then more glue dots for attaching to the background. Next I used my bigger Elmer’s glue pen to attach the background to the card front. I glued the inside sentiment “Make a Wish” with enough room underneath for my daughter to sign.
P.S. She refused to sign her oldest friend’s card. Just wow.
Anyhow, for the finishing touch I cut a double-stitched square with rounded corners from purple paper with a die from my personal stash. I used a wood block rubber stamp I bought for a $1 at Target around Christmas that has “Handmade with love” on it with foliage. I can’t remember where I got the ink pad. Studio G is the brand. Maybe I bought it at Meijer or Wal-mart? There was still a lot of ink left on the stamp so I blew on it and stamped a red piece of paper too. Afterward I used our paper trimmer to make it a square and saved for another project. After allowing the ink to dry I used a glue pen to attach the purple square to the back of the card.

Tools/materials used (where to purchase):
Assorted glue pens (Wal-Mart, Michaels & Amazon)
Paper & cardstock – all Colorblok Assorted Scrap Pack 1 lb (Meijer & Wal-mart)
Circles of Hearts Background Cutting Die – available here and on our eBay store
Happy Birthday Various Size Letters Cutting Dies – available here and on our eBay store
Wish Big Sentiment Words Cutting Dies w Frame – available here and on our eBay store
Paper trimmer (Amazon)
Glue dots (Amazon)
Studio G blue ink pad (can’t remember)

