
My uncle’s mother passed away Sunday night. She was a very special lady who lived to the ripe old age of 98. In her later years she suffered from dementia sadly. One of her hobbies was gardening so I decided I should make a flowery sympathy card to let my family know my thoughts are with them during this difficult time.
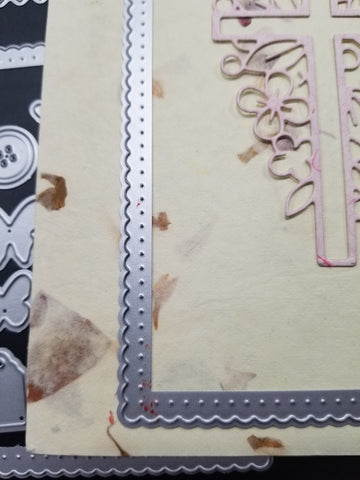
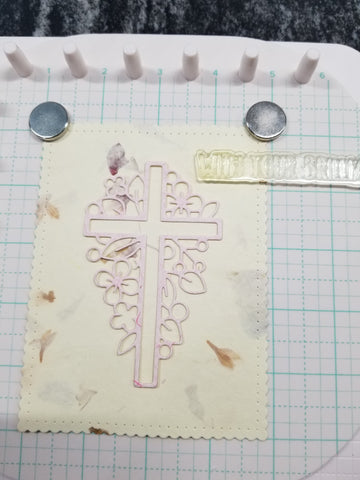
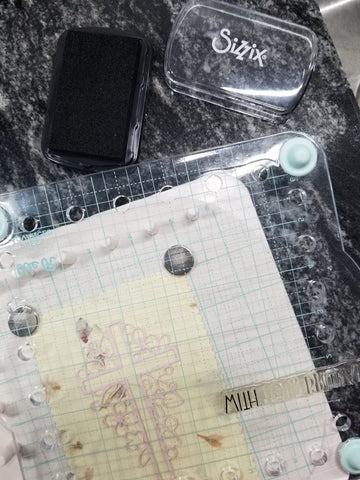
One night last week I’d cut the Easter Cross die we sell with a piece of variegated pink cardstock using my Spellbinders Grand Calibur machine. I decided that it would work nicely for my card’s theme. It cuts two pieces – a solid cross and an outline one with attached flowers and leaves – so I decided to save the inner die cut for another project. Next I wanted to add a flat background to the card since I knew I would be sending it in the mail. I chose the larger rectangle from our Scallop Rectangles with Dots set. I also added the “sympathy” word from our Sympathy Always sentiments set.
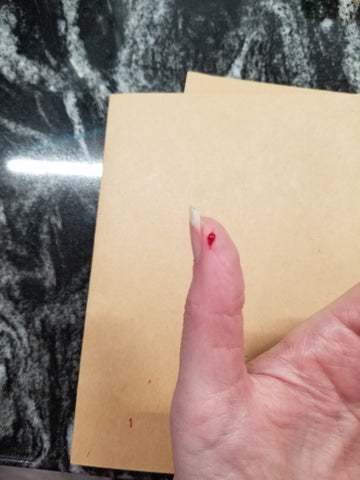
I picked out a mulberry paper for the background and a light green one for the sentiment. However before I could arrange them on my base plate, I realized my thumb was bleeding all over the place. Yep for the first time in the nearly two and a half years I’ve been paper crafting with a die cutting machine, I managed to slice my thumb open on a die. Luckily the blood on the mulberry paper was near the edge so I could still use it. I washed out the wound on my left thumb with soap and applied a bandage. Then I used a cleaning wipe and water to remove the blood from the die. Of course I’m left-handed so this injury is impeding my work on this project. Sigh.
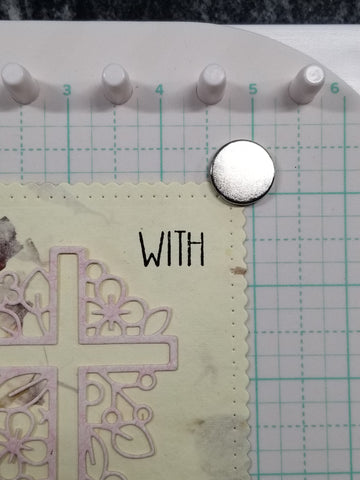
Anyhow, I don’t have a small “with” word die so I ended up stamping it onto the background and only inking the one word I wanted. The first one I used the stamp was way too small so I kept digging through my personal stash until I found a bigger one. I used my Precision Press Advance from W R Memory Keepers so I was able to align it fairly easy. I’m a very novice stamper and need all the help I can get. I went with classic black ink because I thought it was a safe bet for showing up well. No surprises. I was able to get a good result in one try.
I did not make the card base or envelope. I used blank white ones from my stash. The card is 6.5 inches tall by 5 inches wide.
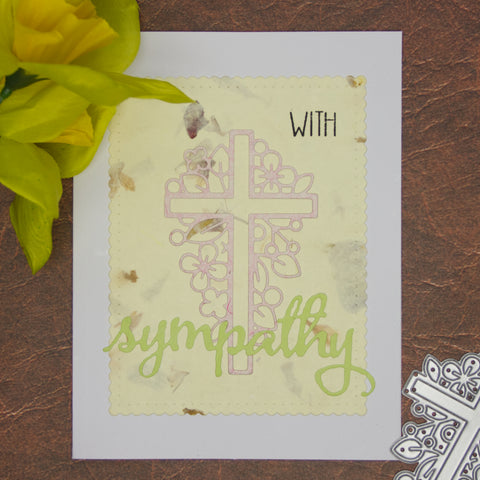
Then it was time to start attaching my die cuts together. I used a fine tip liquid glue pen on the back of the cross and eyeballed centering it onto the scallop background. Once I was happy with the placement I used my fingers from both hands to apply pressure to get a good seal and added a bit of extra glue on a few edges. Next I centered the “sympathy” die cut which was a little trickier since it’s wider than the background. I used the same glue pen and pressure technique. Last it was time for to get the background on the card front. I tried using a tape runner but that caused the mulberry paper to rip. So I used a larger glue pen and centered the background onto the card front. The last step was adding glue to the bits of “sympathy” that overhang to adhere them to the card.
Here's a list of everything I used for this card (where to find):
True white card folded in half to be 6.5" x 5" with matching envelope - The Paper Studio brand (Hobby Lobby)
Paper and cardstock - Colorblok Multicolor Assorted Scrap Pack 1 lb (Walmart or Meijer)
Black ink pad - Sizzix (their website sizzix.com)
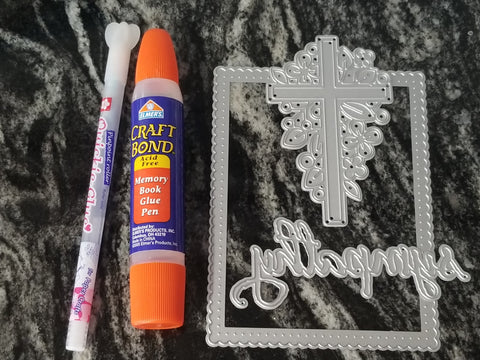
Fine tip glue pen - Sakura Quickie Glue (Amazon)
Regular glue pen - Elmer's Craft Bond Memory Book Glue (Hubs got at Walmart a dozen years ago, he gave it to me Xmas 2008)
Sympathy Always Sentiment Words Cutting Dies - Hope Comfort Always (available here on teamjbhobbies.com and in our eBay store)
Easter Cross w Flowers & Leaves Cutting Die (available here on teamjbhobbies.com and in our eBay store)
Scallop Rectangles w Dots Cutting & Embossing Dies Style A (available here on teamjbhobbies.com and in our eBay store)