Need an instant cookie fix? Look no further than pop-up booths in just about every part of America this time of year.
I am one of the leaders of my daughter’s troop and this year I decided to tackle the task of being the cookie manager too.
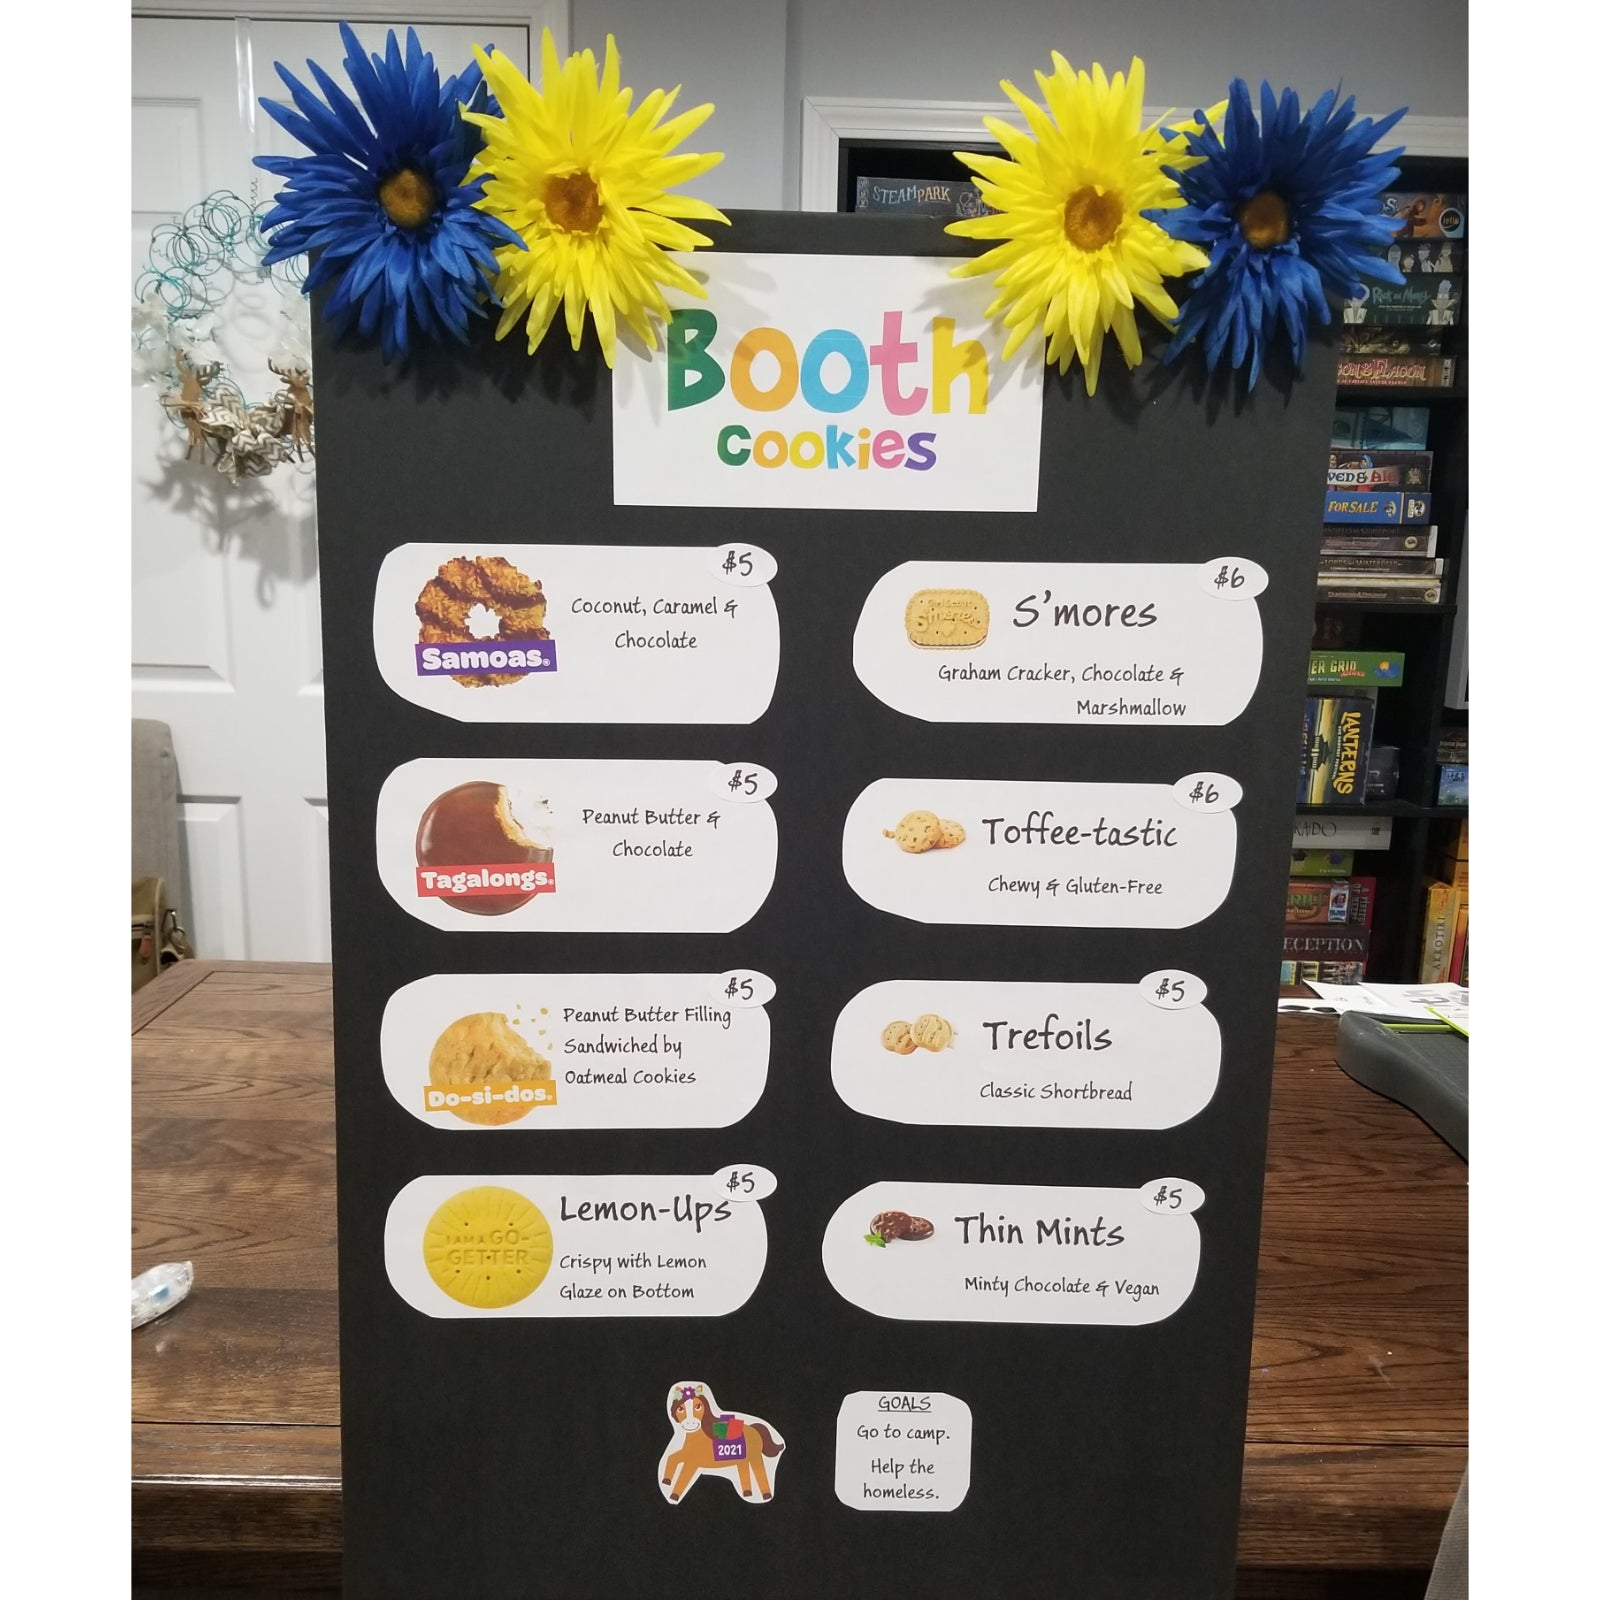
I am Jami, the first of her name, queen of the craft room, mother of monkeys and keeper of all the cookies. Today’s mission was to create a sign/menu for our troop’s cookie booths because well, let’s be honest, voices get muffled quite a bit wearing masks. So I decided the safer and easier route would be to have a menu for customers to order from and get all the basic info without having to ask a ton of questions. We will also be socially distancing and providing free hand sanitizer.
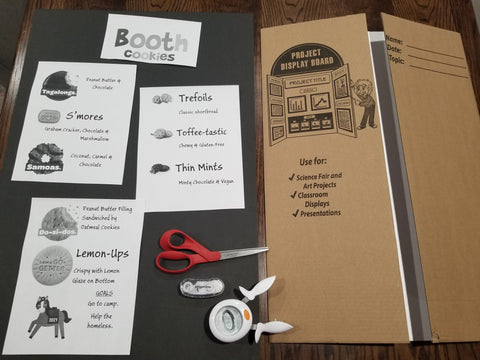
I purchased some supplies a couple of days ago at Dollar Tree: black foam board, a tri-panel display board and some gerbera daisy flower clips. I also bought some borders but decided not to use them. I spend what felt like forever downloading clipart from the Little Brownie Bakers website. Then I added them to Microsoft Word, resized and found a cute script font to add little descriptions for each cookie. I printed the pages on our laser black & white printer as a mock-up to see if the images and type was too small, too big or just right.
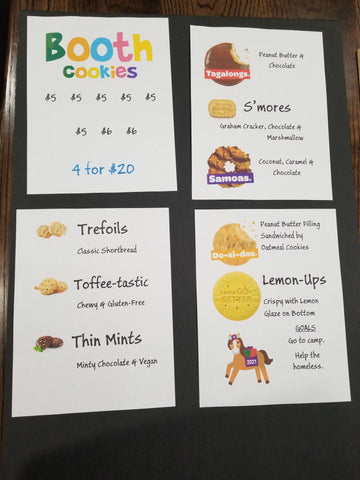
Amazingly everything looked the right size so I ended up converting my four page file to PDF so I could print it on a color printer at my parents’ house. We had a color laser printer until sometime last year when one of the internal parts exploded. Good news: our small business really started getting lots of orders every day. Bad news: our success killed the printer. We will be getting a new color printer sometime this year, but it will probably be inkjet.
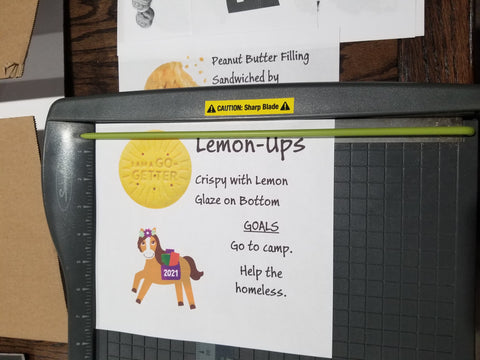
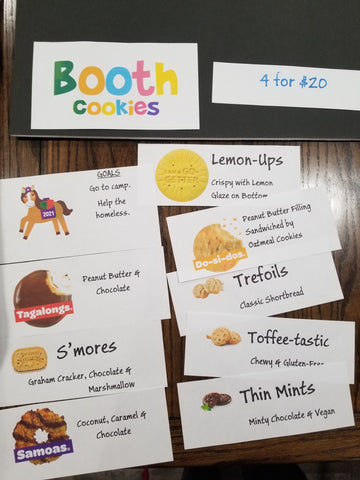
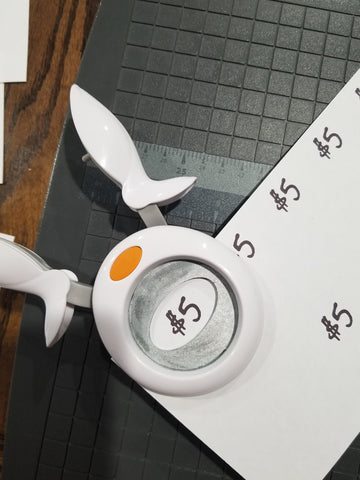
I used our paper trimmer to cut apart each cookie and then freehanded rounding the edges with my left handed scissors. I fussy cut the horse at the bottom. I used a tape runner to attach all the paper to the foam board. I used a hand punch in an oval shape for the prices. The foam board is taller than the display board. So I decided I would attach the top of both with the daisy clips.

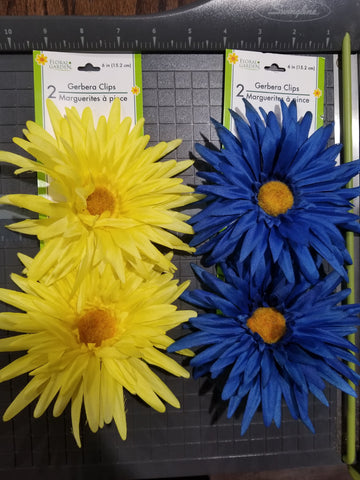
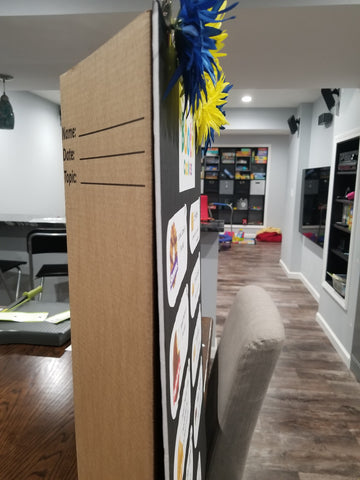

We are a Daisies troop if you haven’t already guessed. So the plan is to have it up on our table at the booth so the bottom of the foam board just hangs down. I decided against using any sort of adhesive to attach the foam board to the display board because I want to be able to use the display for something else in the future, maybe. I was going for a bit of an imperfect, maybe a kid did some of this, please buy our cookies, kind of vibe.
I’ll let you all know in a few days if it worked.